
Summary: Have you ever been required to send an email to an entire group of people at once? Trying to type in each person’s address individually can be disappointing, specifically if the list is long. Luckily, it is easy to create email group in Outlook.
MS Outlook has been one of the exceedingly popular email and specific information managers. It has many aspects that help you systematize your inbox, contacts, and calendars. The software can be employed in a variety of ways, but the most popular one is to manage your emails. In this post, we will learn how to create an email group and distribution list in Outlook.
Contents
Why do we need to create email group in Outlook?
Email groups in Outlook let you choose a set of people that you wish to team up with and easily set up an accumulation of resources for those people to share.
It is especially useful for large teams or working groups wherein email discussion is regular.
Now, we will learn how to set up group email in Outlook. From the below methods, you will be able to create distribution list in Outlook.
Methods to Create a Contact Group in Outlook
There are several methods to create address group in Outlook. The most common method is to use the To field. Simply type in the name of the contact group and all of the contacts in that group will be included in the email. If you want to know how to block emails on Outlook you can read this post.
All methods discussed below are already verified and tested.
Method 1: Create Email Group using Team Email.
Run the application and create email list in Outlook or create mailing group in Outlook. If an Outlook message stuck in outbox, check this guide and implement the fixes discussed in it to proceed.
1. Open the Microsoft Outlook application on your system.
2. Click on the Team Email option under the Quick Steps section.

3. Here you can specify the Team member.
4. Now, Click on the To button and select the username or email id that is visible on your screen.

5. Hit the Ok button.
Method 2: Create a Email Group using Quick Steps
Setting up or create email group in Outlook can be a great way to keep in touch with a large group of people. However, using these quick steps, you’ll be able to create mailing group in Outlook.
- Find the Quick Steps section at the top of your menu bar.
- Click on the Create New email option.
- An Edit quick step dialog box window appears on the screen.
- Fill in the name under the name section.
- Now, choose the new message option under the Actions drop-down button.
- In the next step, you see the To option and type the email address.
- Press the show options button here and get the subject, cc, and Importance function filled in according to your needs.
- Under the Cc, type and select the email.
- Type the subject of your email in a subject field.
- You can also tick on the checkbox to automatically send after 1 minute.
- After completing the process, just hit the finish button.
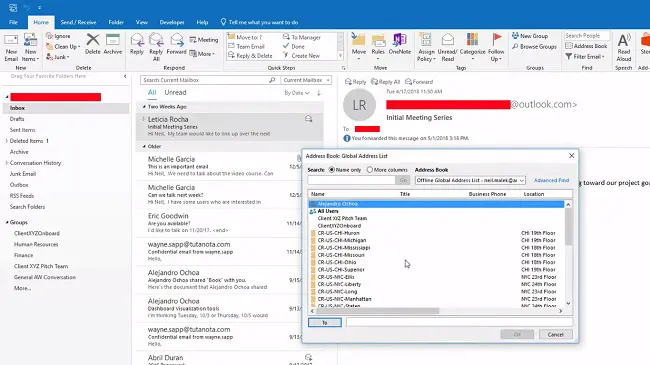
Method 3: Add people to a contact group in Outlook
Adding an email group in Outlook is a great way to keep track of important contacts and easily send messages to multiple people at once. By following the steps below, you can easily create email group in Outlook and start staying organized and connected with your friends, family, or colleagues. If Outlook unable to connect to your imap server you can read this post and fix them.
- Open Outlook and select the people from the bottom.
- Click on the New Contact button and then the Contact Group option.
- Now give the Group’s name, then press the Add Members option.
- Double-click on the name from your Outlook Contacts. It will be added to the Members area, then click on the Ok button.
- To add new members, type name and email address in the new member box.
- After completing the process, click on the save and close button.
Method 4: Create a Group while Compose Email
- Click on the New Email button.
- Type the group name in the To field.
- You can also select the group name from the list after typing the name in the To field.
- Select the group from the list and hit the Ok button.
Also Read: Send Email from Different Address in Outlook
Conclusion
In conclusion, create email group in Outlook is the best way to manage your contacts and keep everyone organized. However, the above methods can simply create an email group and add or remove members as needed. I hope your query is answered in this post, how to create a distribution list in Outlook.


